|
Installation from USB media |
  
|
|
Installation from USB media |
|
Note: the following steps are described as an example and may appear slightly different, depending on the used browser.
After inserting the Datagraph-med© installation media, it should open as web page. If auto-run functions are blocked on your PC and nothing happens, please use your Windows Explorer (click 'Windos'+'E') and start the 'cdrun.exe' in the Datagraph-med folder manually.

Then the main startup screen of the installation will appear as below. Click on any of the icons to either display literature, the users list or to print the fax order form.
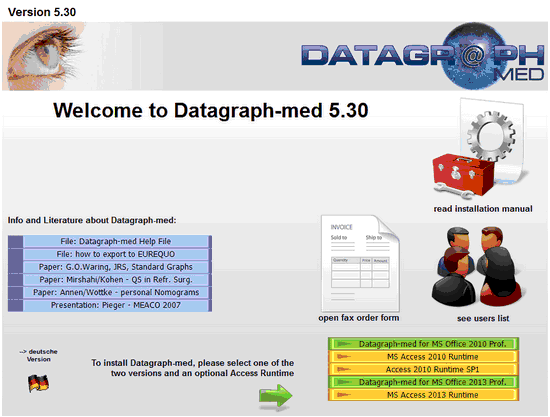
To install Datagraph-med please proceed as follows:
| • | Select the correct MS Office version of Datagraph-med which matches your own version of MS Office. Datagraph-med 5.30 is available as 32 Bit version of MS Office 2010, MS Office 2013 and 2016. 64 Bit versions of MS Office are not supported and you will have to changed your installation to the regular 32 Bit version of MS Office before you can proceed. |
| • | If you are not using MS Office Professional, you have to add the corresponding Access Runtime installation. |
| • | Note: In case of Office 2010, both installations, the Access 2010 Runtime and the Service Pack 1 of this Access Runtime have to be installed. |
| • | If you are using a MS Office Version older than Office 2010, please use 'Datagraph-med for MS Office 2016 Prof.' and the Access 2016 Runtime. |
| • |
When clicking on any of the installation buttons, you will be prompted whether to 'open' or to 'save' the installation files. Click on 'save' and ignore the usual Windows warning messages.
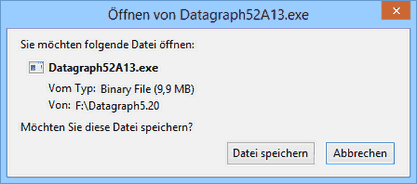
Depending on your the type of web browser you use, the installation file has to be located and started in a separate step. Below an example as it appears on FireFox.

Depending on the version of Windows you use the program will start only after confirming that you really want to start this program... below an example as this appears on Windows 8.1.
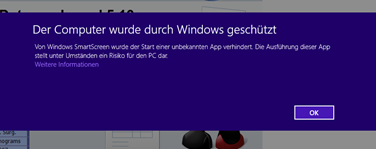
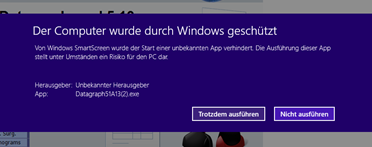

Note: If your Antivirus-Software blocks the installation file disable your AV software temporarily, or add our installation files as exception.
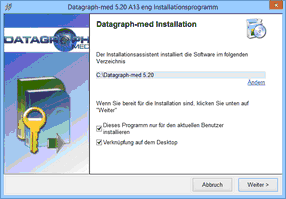
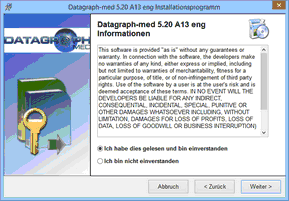
Finally the actual installation process starts with the following welcome screen. Click next and accept the terms and conditions of use after reading it. You may change the default installation path at this stage.
At the end of the installation a message that the installation path is set as a 'trusted folder' will appear.
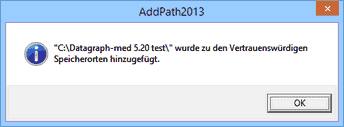
Note: If you change the location of your data file at a later stage, you may have to run the 'add path.exe' from within this folder once in order to avoid annoying security warning messages.
After the installation the following two messages appear, asking wether to open the license agreement and run the program.
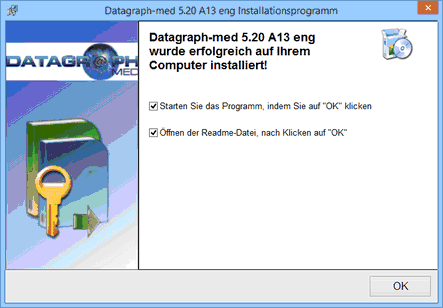
Now look for the new shortcut created on your desktop. To run Datagraph-med, click on 'Start-->Programs-->Datagraph-med 5.10 or click on the desktop icon of Datagraph-med.
If the final installation screen did not appear, your installation may not be correct. Please repeat or try other installation options. If the problem can not be solved, contact support@datagraph-med.com for further assistance.